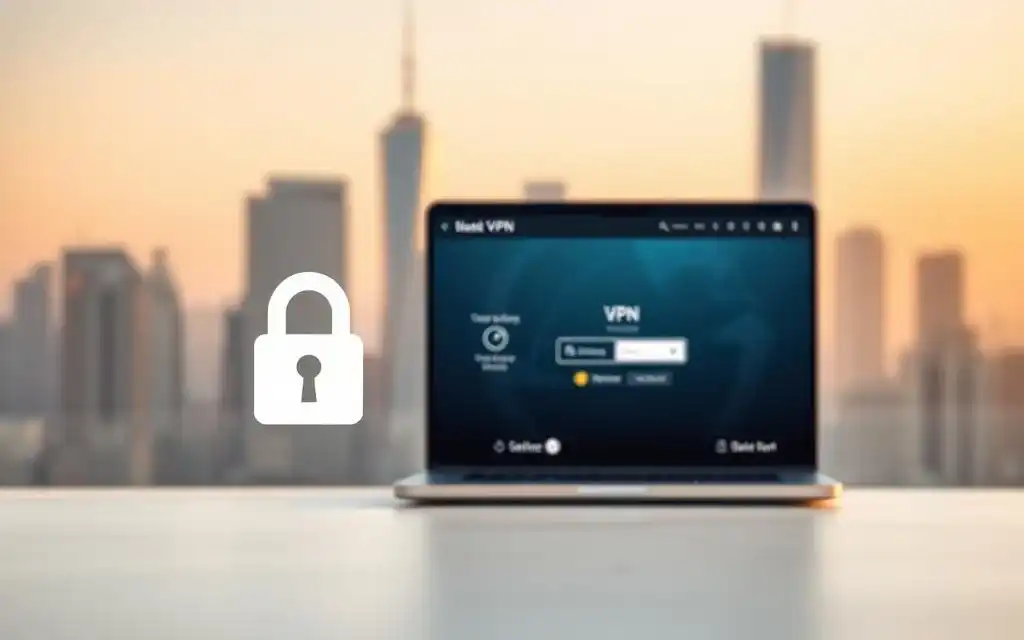
How to use a vpn for remote desktop is an essential skill for anyone working remotely, accessing sensitive data, or connecting to a company’s internal network from a different location. Whether you're a business professional, a student, or a remote worker, understanding how to leverage a Virtual Private Network (VPN) for secure remote desktop access can significantly enhance your productivity and data protection. In this article, we’ll break down the process into clear, actionable steps. Understanding the Basics of a VPN for Remote Desktop Before diving into the technical steps, it’s crucial to grasp the fundamentals of how a VPN works and why it’s a game-changer for remote desktop use. A VPN (Virtual Private Network) is a technology that creates a secure, encrypted connection over the internet, effectively tunneling your data traffic through a private network. This ensures that your online activities remain hidden from prying eyes, making it an ideal tool for protecting sensitive information when accessing remote desktop environments. Remote desktop refers to the ability to control a computer from a different location, often used by businesses for remote work or by individuals for accessing their home computers while traveling. However, without proper security measures, this connection could be vulnerable to cyber threats such as data breaches, man-in-the-middle attacks, or unauthorized access. By using a VPN, you can establish a secure tunnel that encrypts your data and masks your IP address, making it much harder for hackers to intercept or track your activity. One of the key advantages of using a VPN for remote desktop is the ability to bypass geographical restrictions. Many organizations use remote desktop protocols (like RDP, VNC, or SSH) to access internal systems, but these protocols often require a stable and secure connection. A VPN ensures that even if you're connecting from a public Wi-Fi network or a distant location, your data remains safe. This is particularly important for users who work with confidential files, financial data, or customer information. Setting Up Your VPN Connection Setting up a VPN connection is the first step in securing your remote desktop access. The process varies slightly depending on the VPN provider you choose, but the general principles remain consistent. Start by selecting a reliable VPN service that offers the necessary features for your remote work needs. Look for providers with strong encryption standards, a good server network, and compatibility with your operating system. Once you’ve chosen a VPN provider, the next step is to download and install the VPN client software. Most VPN services offer apps for Windows, macOS, iOS, and Android, ensuring seamless integration with your device. During installation, you’ll typically be prompted to enter your account credentials and configure basic settings such as the server location and connection protocol. It’s important to select a server location that’s geographically close to your remote desktop server to minimize latency and maintain a smooth user experience. After installation, you’ll need to configure your VPN settings to optimize performance and security. This includes selecting the appropriate encryption protocol (like OpenVPN, IKEv2, or WireGuard), setting up multi-factor authentication (MFA) if available, and customizing options such as split tunneling or DNS settings. These configurations allow you to tailor the VPN connection to your specific requirements, whether you want to route all traffic through the VPN or only specific applications. Choosing the Right VPN Provider Selecting the right VPN provider is a critical decision that impacts both your security and convenience. To make an informed choice, evaluate providers based on their security features, server locations, speed, and compatibility with remote desktop protocols. A provider with a large server network ensures faster connections and better performance, while strong encryption (such as AES-256) guarantees data privacy. Key considerations when choosing a VPN service include: Reputation: Opt for well-established providers with positive user reviews and a proven track record. Speed: A fast connection is essential for smooth remote desktop performance, especially when working with resource-intensive applications. Ease of use: A user-friendly interface reduces the learning curve and makes setup easier. Cost: Compare pricing models, including monthly subscriptions, annual plans, and free tiers. For example, if you’re using Windows Remote Desktop Protocol (RDP), ensure the VPN provider supports port forwarding or split tunneling to optimize RDP performance. Similarly, macOS users should check compatibility with SSH or VNC protocols. Installing and Configuring the VPN Client The installation process for a VPN client is typically straightforward, but it’s important to follow the steps carefully to avoid any configuration errors. Once you’ve downloaded the software, run the installer and follow the on-screen instructions. During installation, you’ll be asked to select the VPN protocol and server location. For remote desktop purposes, choose a server that’s geographically close to your target system to reduce latency and improve connection speed. After installation, open the VPN client and enter your account credentials. This usually involves a username and password or a subscription key. Once logged in, you’ll need to configure the VPN settings to suit your remote desktop needs. For example, if you’re using RDP, you might want to enable split tunneling to route only remote desktop traffic through the VPN, while allowing other internet traffic to bypass it. This can enhance performance and network efficiency. Some VPN providers offer pre-configured profiles for specific use cases, such as remote desktop access. If available, these profiles simplify the setup process by automatically adjusting settings like encryption protocols, port forwarding, and DNS resolution. Otherwise, manually configuring these options ensures greater control and customization. Connecting to the Remote Desktop Server Once your VPN client is properly configured, the next step is to establish a secure connection to your remote desktop server. Launch the VPN application and select the desired server location. Click the connect button to initiate the connection. This process may take a few seconds, depending on your internet speed and the server load. After the VPN connection is established, you can proceed to connect to your remote desktop. If you’re using Windows RDP, open the Remote Desktop Connection tool and enter the